
Buying Guides · 6 min read · November 18, 2026
How to Prepare Counter Mat Replacement Inserts: From Drawing to Branch Printout
Prepare counter mat replacement inserts with a confirmed window, paper size and print template. Test one finished sheet before sending files to every branch.
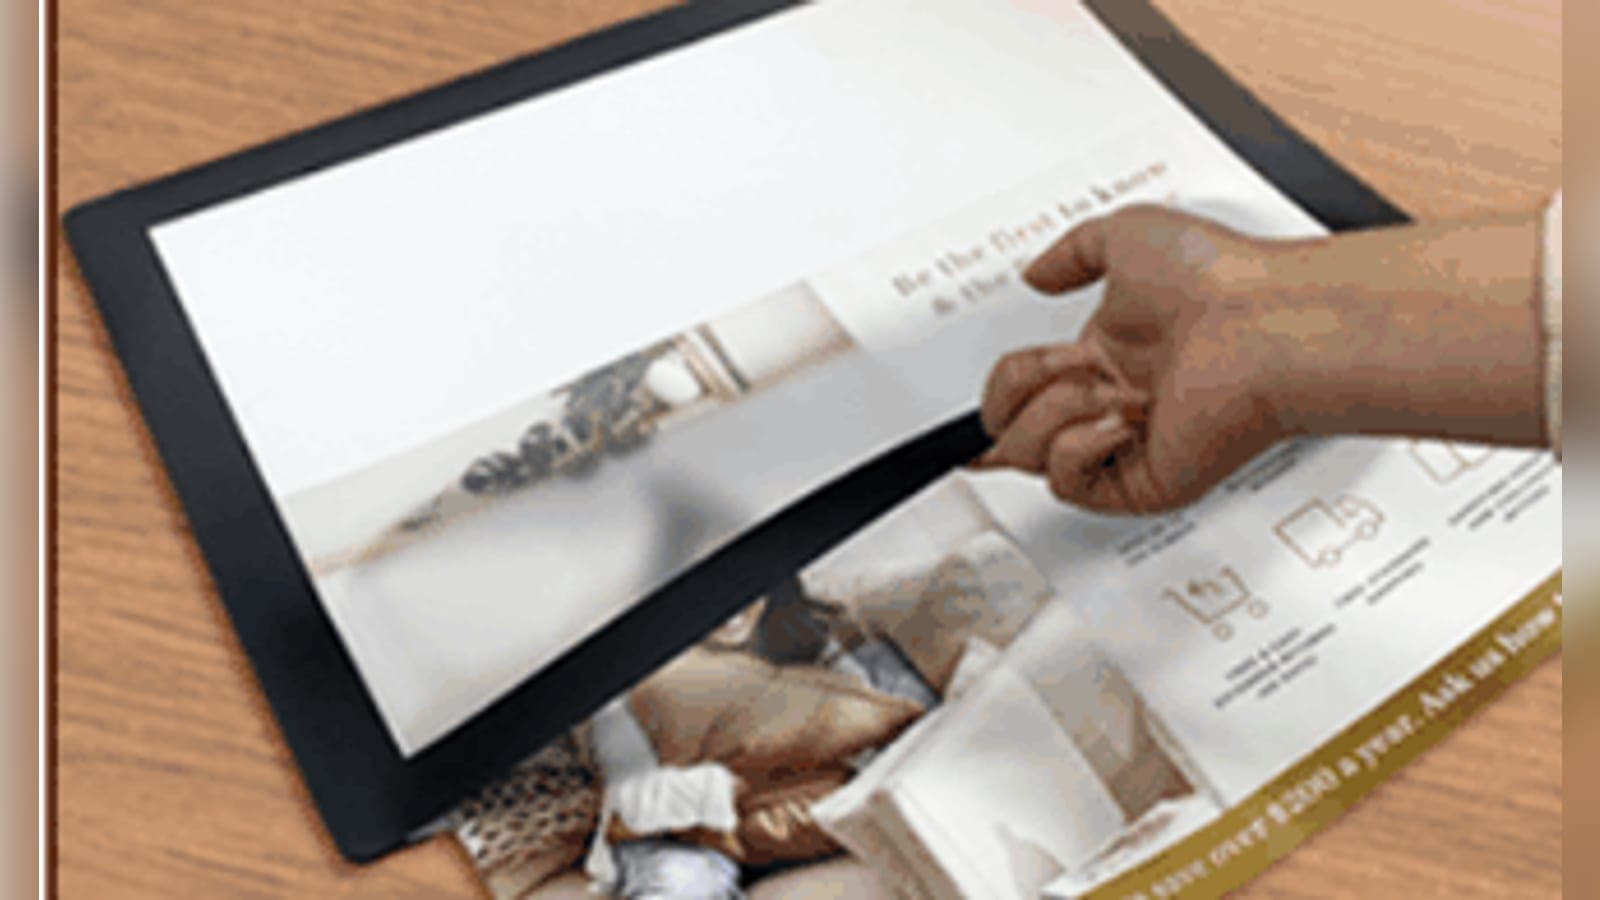
Begin with the finished sheet inside the mat
To prepare counter mat replacement inserts, obtain the drawing for the selected mat, confirm the paper size and visible window, and make a print template that keeps essential content inside the visible area. Print and finish one sheet using the intended branch process, then fit it into a physical sample before distributing the file.
This is a guide to the replaceable paper, not to the permanently printed frame or mat face. Keep those files separate. If the promotion changes while the frame stays in use, staff need a repeatable way to produce the sheet without guessing dimensions or moving the main brand artwork. The useful output is a tested insert file plus a short print instruction, not just a picture of an attractive counter.
1. Obtain a drawing with separate measurements
| Measurement or detail | What it controls | Who should confirm it |
|---|---|---|
| Finished mat footprint | Space occupied on the counter | Buyer and mat supplier |
| Insert sheet size | Paper physically fitted into the product | Mat supplier against the sample |
| Visible window | Content the customer can see | Buyer and designer against the sample |
| Opening position | Where staff change the insert | Mat supplier and branch team |
| Print and finishing setup | Final sheet delivered to the counter | Buyer and chosen printer |
Start from the windowed mat intended for replacement sheets. Ask the supplier to mark the actual opening and usable area. Do not borrow another supplier’s border allowance or assume a standard office-paper name defines the window. The finished sheet and the exposed area answer different questions. If the drawing and sample disagree, resolve the drawing before preparing files for every location.
2. Build an insert template, not a resized poster
Make the template from the confirmed sheet outline, then mark the visible boundary as a separate guide. Place the headline, prices, expiry information and any code intended for use inside that boundary. Keep guides out of the final print output. Agree any additional trim or bleed requirements with the printer instead of assigning a universal margin from a generic article.
Use the counter-mat artwork preparation guide for the broader design brief, but retain a separate replacement-sheet file. Check text at the actual printed size. A poster reduced to fit may keep all its content while making the important line hard to read. If a QR code is included, scan the finished sheet in the sample from the normal customer position; a code visible on a designer’s monitor is not the completed test.
3. Test the branch print process with one complete sheet
Print using the printer, paper and settings intended for the programme. Check the resulting sheet dimensions rather than assuming the file reached paper unchanged. If the print dialogue automatically fits the page, the sheet layout can change even when the document itself is correct. Agree the required output setting and include it in the instruction supplied with the file.
Insert the finished sheet, close the display as intended and check alignment, readability and the ease of removal. Ask the supplier to confirm the suitable paper and finishing choice for the selected construction. Do not add lamination or thicker stock without checking the resulting fit. If a flip-open mat is being considered instead, repeat the physical check on that product; a tested sheet for one mechanism is not automatic approval for another.
4. Check the promotion on the working counter
Put the sample beside the usual scanner, till and brochure holder. Stand where the customer stands and read the offer with those objects in place. Then ask the staff member who normally updates promotions to change the sheet. Check whether the opening is accessible and whether equipment must be moved. A successful trial on an empty table does not establish that the branch has room to do the same job.
For a decision example, a sheet can slide into the pocket while its expiry line remains behind the frame. The correct response is to revise the content placement or the confirmed template and print another test, not trim the paper until the words happen to show. This is a planning example, not a claimed field result. Use the trade-counter workflow guide when spare worktop and parts handling also need to be planned.
5. Issue a versioned file and keep the supplier brief
Assign a file owner and record the template revision, promotion version and validity period. Keep the approved output settings with the file. When a new offer is issued, tell branches which old sheet it replaces and who checks removal. Keep design approval separate from paper-fit approval so a later text change does not silently alter the confirmed outline.
Before a bulk order, send the mat format, finished footprint, desired visible area, paper proposal, opening requirement, artwork and quantity. Confirm whether the order includes printed frames, blank inserts, printed inserts or only the mats. Ask who prints replacements, who approves local offers and which sample establishes the fit. MOQ, print service availability and delivery arrangements require confirmation for the selected order. For a wider programme, keep that responsibility record with the brand-and-stockist rollout plan. It gives every branch a clear route from a new offer to the correct sheet.
This article is general industry guidance. For advice on a specific project, contact our team.
Related products